How to Send the Perfect Reference Photos to Your Tattoo Artist
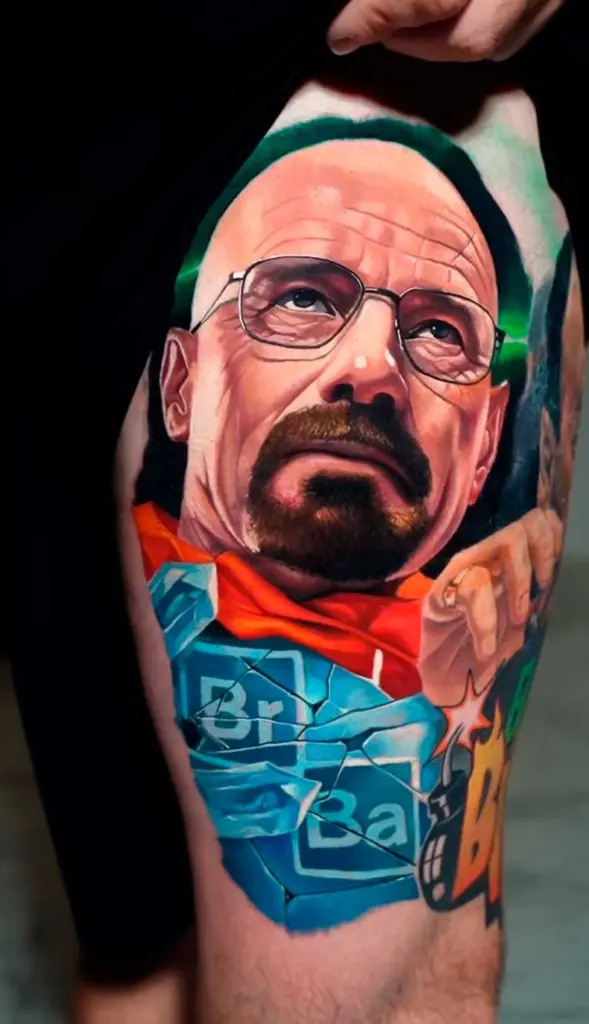
The first message you send me shapes the whole project. Good reference photos help me understand what you want, estimate the work and adapt the design to your body. Here is exactly what to send, and what makes a reference useful or not.
What I need to quote and design your tattoo
To quote and design a piece, I need two things above everything else:
- Your idea. The character, the scene, the mood and anything that matters to you.
- A clear photo of the area of your body. It helps me adapt the characters to your anatomy, so the design fits your arm or leg instead of sitting on top of it.
With that information, my team evaluates the project and sends you an estimate of sessions and price.
Reference photos: what makes them useful
References are there to show me what you are looking for: the version of a character, a pose, an expression or a color palette. They are not a design to copy, but a way to understand your idea.
- Sharp images. If a reference is blurry or does not show the details clearly, it adds little to the design.
- The right version of the character. A classic comic, a movie or a game version can look very different. Send the one you love.
- A few strong references. A handful of clear images that show what matters to you is better than dozens of similar ones.
- Your own notes. Tell me what you like about each image: the face, the pose, the colors.
How to take the photo of the area
The photo of the area is just as important as the reference photos. A few simple tips make it much more useful:
- Take it in good, even light, without strong shadows.
- Show the whole area, plus a bit around it, so I can see the shape of the arm or leg.
- Keep the camera straight in front of the area.
- If you already have tattoos nearby, include them in the photo.
Cover-ups: show me the old tattoo
If you want to cover an old tattoo, send a sharp, well-lit photo of it and the area around it. I need to see every line and color to know what is possible. You can read more in can you cover up an old tattoo with a color realism piece.
Common mistakes to avoid
- Sending only a screenshot of a screenshot. Low-resolution images lose the details that matter.
- Forgetting the photo of the area. Without it, it is much harder to plan the size and the composition.
- Sending fifty images. Too many references can hide what you really want.
- Not mentioning the size or the placement. Even a rough idea helps a lot.
How to send everything
The booking form lets you describe your idea (character, style, size, placement and details) and attach images: JPG, PNG, WEBP or HEIC, up to six files of 10 MB each. That is enough for your best references and the photo of the area.
What happens next
Once we confirm your dates, we usually have an online consultation about a week before the appointment to talk through the concept. The design is presented on the day of your appointment, and we review it together before I start. Read what to expect at your first color realism session for the whole process.
Quick checklist before you send
- Describe your idea in a few clear lines.
- Attach a sharp photo of the area, in good light.
- Choose a few clear reference photos.
- Add a short note about what you like in each one.
When you have everything ready, send me your idea. I work at Garden Ink NY in Manhattan.